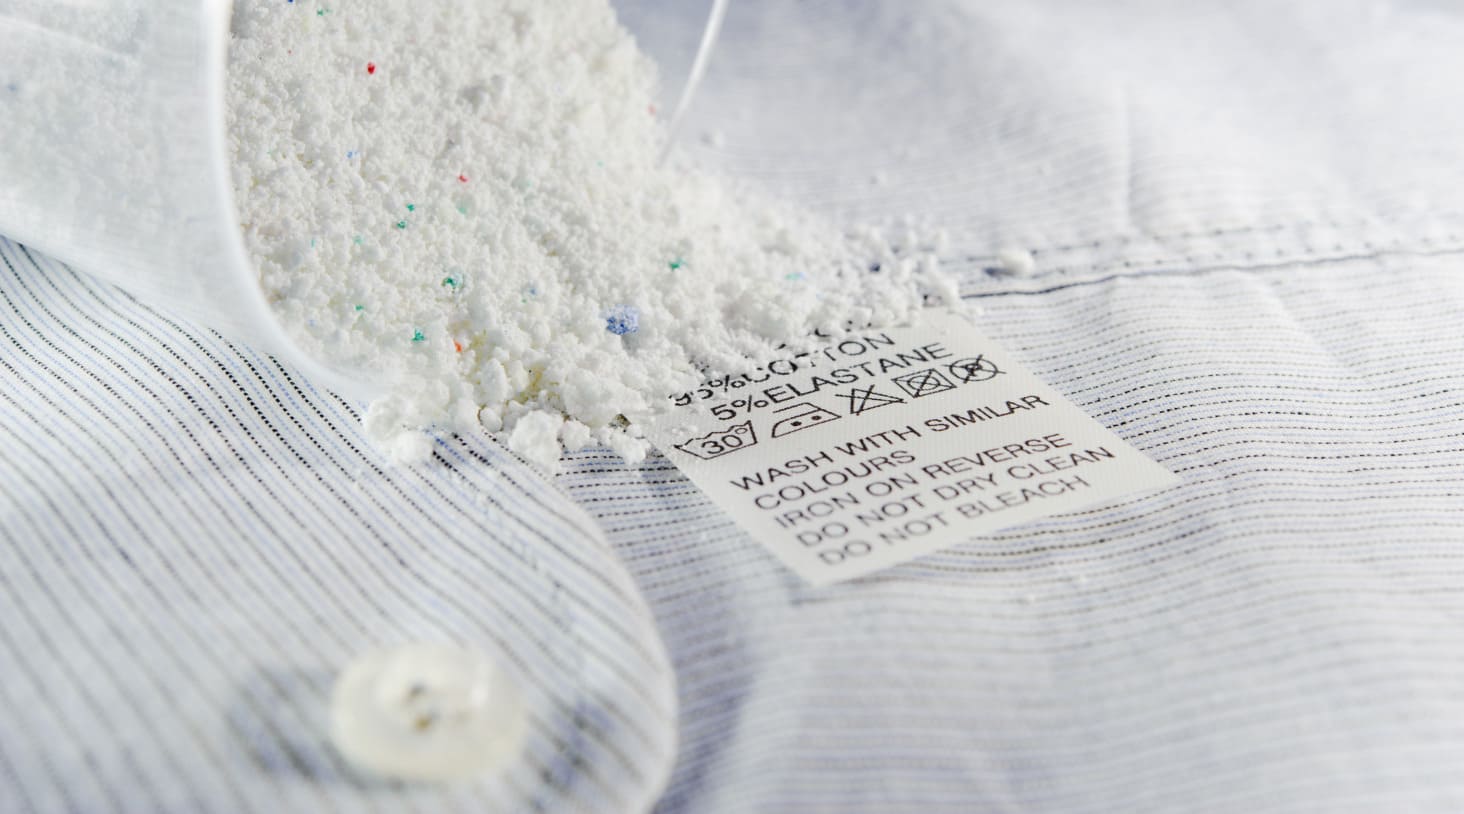
Organizing your laundry can be a lot easier with customized labels and tags. These can help you keep track of different clothing care instructions, organize your laundry room and add a personalized touch to your laundry routine. Here’s a step-by-step guide on how to make your own laundry labels and tags using printable templates.
Benefits of Using Laundry Labels and Tags
Before diving into the creation process, let’s explore why using laundry labels and tags is beneficial:
- Organization: Helps in categorizing laundry into different types (e.g., whites, colors, delicates).
- Care Instructions: Ensures that specific care instructions for different garments are followed.
- Personalization: Adds a personal and aesthetic touch to your laundry space.
- Efficiency: Speeds up the laundry process by reducing guesswork and mistakes.
Materials Needed
To create your own laundry labels and tags, you will need the following materials:
- Printable Templates: Find or create templates for your labels and tags. Many websites offer free printable templates.
- Printer: A color printer for printing your designs.
- Paper or Cardstock: For durable tags, use heavy paper or cardstock.
- Laminator (optional): To make your tags more durable and water-resistant.
- Scissors or Craft Knife: For cutting out the labels and tags.
- Hole Punch (optional): For creating holes to attach tags.
- String or Ribbon (optional): For tying tags to laundry baskets or hampers.
- Adhesive (optional): If you prefer to stick labels directly onto surfaces.
Designing Your Laundry Labels and Tags
Designing your labels and tags can be a fun and creative process. Here’s how to get started:
- Choose a Theme: Select a theme or color scheme that matches your laundry room decor. This could be minimalist, vintage, colorful…
- Create or Download Templates: Use graphic design software like Canva or download free printable templates from websites such as Pinterest or template libraries.
- Add Text and Icons: Include text for different categories (e.g., "Whites," "Colors," "Delicates") and care instructions (e.g., "Cold Wash Only," "Do Not Tumble Dry"). Adding icons or images can make the labels visually appealing and easy to understand.
Printing and Cutting
Once your designs are ready, it’s time to print and cut your labels and tags:
- Print Your Designs: Use a color printer to print your templates onto paper or cardstock. Ensure you use the best quality setting for a crisp and clear print.
- Cut Out the Labels and Tags: Carefully cut out each label and tag using scissors or a craft knife. If you’re making tags, punch holes where necessary for attaching strings.
Laminating (Optional)
To make your labels and tags more durable, especially if they will be exposed to water or steam, consider laminating them:
- Laminating: Use a laminator to laminate each label and tag. This will make them sturdy and water-resistant.
- Trim the Edges: After laminating, trim any excess laminate from the edges of your labels and tags.
Attaching Labels and Tags
Now that your labels and tags are ready, it’s time to attach them to your laundry items:
- Adhesive Labels: If you’ve made adhesive labels, stick them directly onto laundry baskets, hampers, or shelves.
- Tags with Strings: For tags, thread a piece of string or ribbon through the hole and tie them to laundry baskets, hampers or hangers.
Maintenance and Updates
Keep your labels and tags updated to ensure they remain useful:
- Check for Wear and Tear: Periodically check your labels and tags for any signs of wear and replace them if necessary.
- Update as Needed: If your laundry needs change or you acquire new items, update your labels and tags accordingly.
Creating your own laundry labels and tags with printable templates is a simple and effective way to organize your laundry routine. By customizing and personalizing your labels, you can add both functionality and style to your laundry space. Follow these steps to make your laundry process more efficient and enjoyable.


